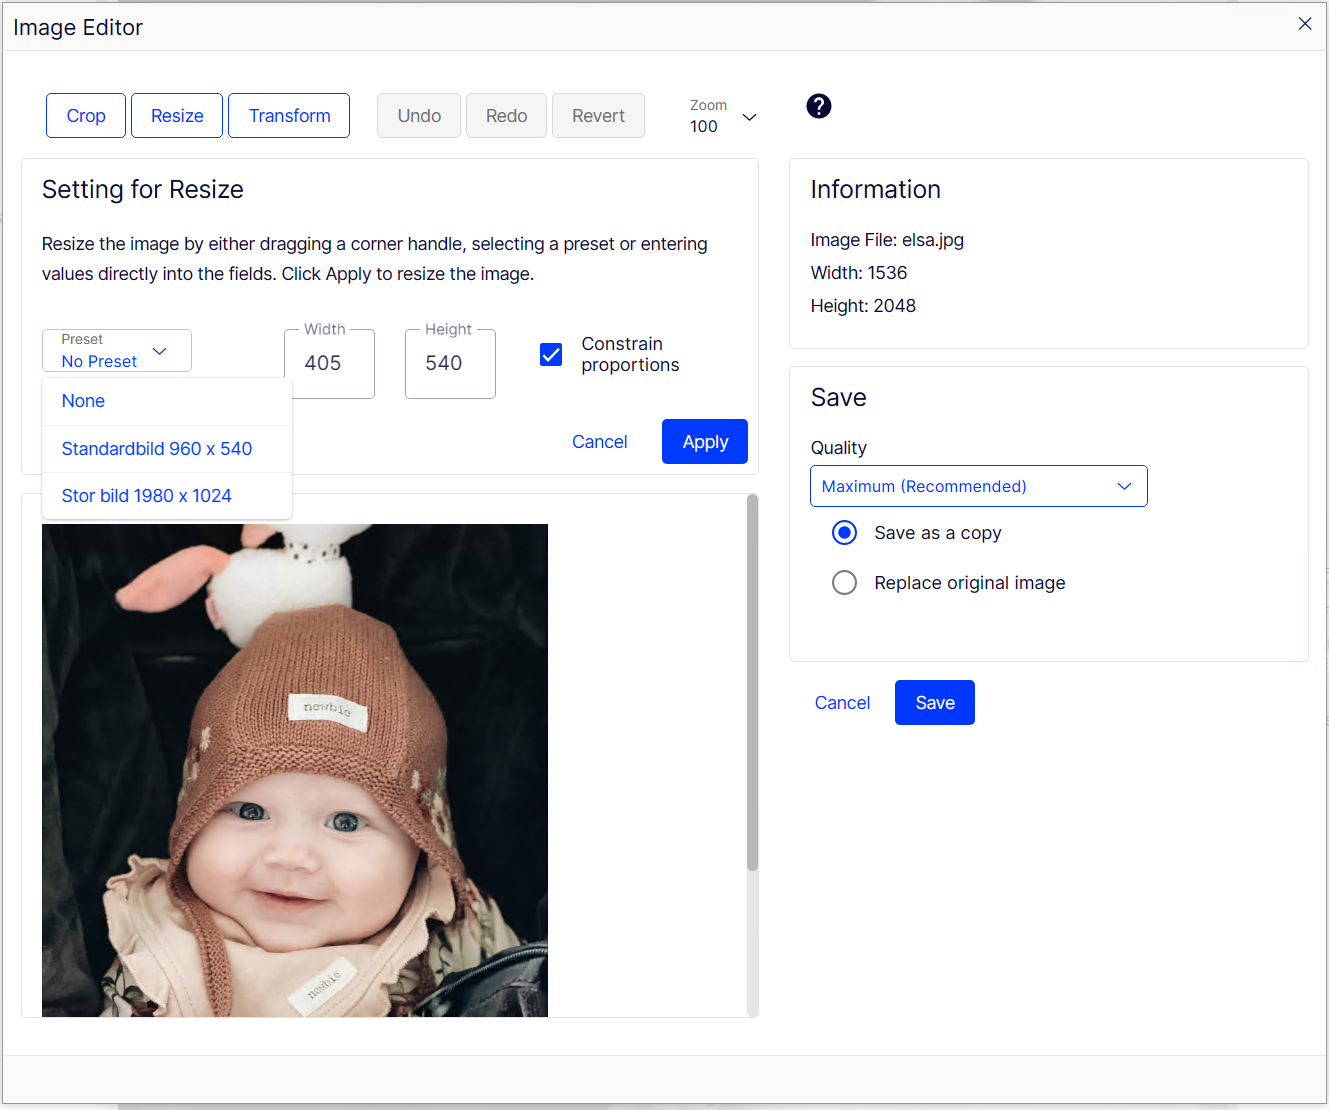
Setting up certain configurations on Opimizely CMS 12 differs quite a bit from prior versions of (Episerver CMS 11 and older). Here's a small guide on how to read and use the documentation from Optimizely regarding the ImageEditor.
Getting started
The first thing to check is the official documentation, Get started with Optimizely Content Management System (CMS). Scroll down in the left menu until you find Configure > CMSUI Section.
Configuration sections
A configuration section in Optimizely CMS would mean anything that lives below the appsettings root level in the EPiServer element
{
  "EPiServer": {
    "Configuration section": {}
  }
}
When using the CmsUI section this would mean for us to use it like this
{
  "EPiServer": {
    "CmsUI": {}
  }
}
Using Options
There are several options available for CmsUI, the typical pattern is
- AnyOption, a child of a Configuration section, the type is always an object. The Option part of the name can be stripped, both ImageEditor and ImageEditorOption would work.
- Setting, a child of an option, the type varies. The setting name must be set as in the documentation.
- Element, a child of a setting, the type is typically an array. The element is never written and is instead set as a nameless array with objects.
Using the CmsUI ImageEditor option
In our case setting up size presets in the image editor would look like this
// appsettings.json
{
  "EPiServer": {
    "CmsUI": {
      "ImageEditor": {
        "SizePresets": [
          {
            "Name": "Standardbild 960 x 540",
            "Width": "960",
            "Height": "540"
          },
          {
            "Name": "Stor bild 1980 x 1024",
            "Width": "1980",
            "Height": "1024"
          }
        ]
      },
      "Upload": {
        "FileSizeLimit": "2097152"
      }
    }
  }
}
Also visible in the gui


